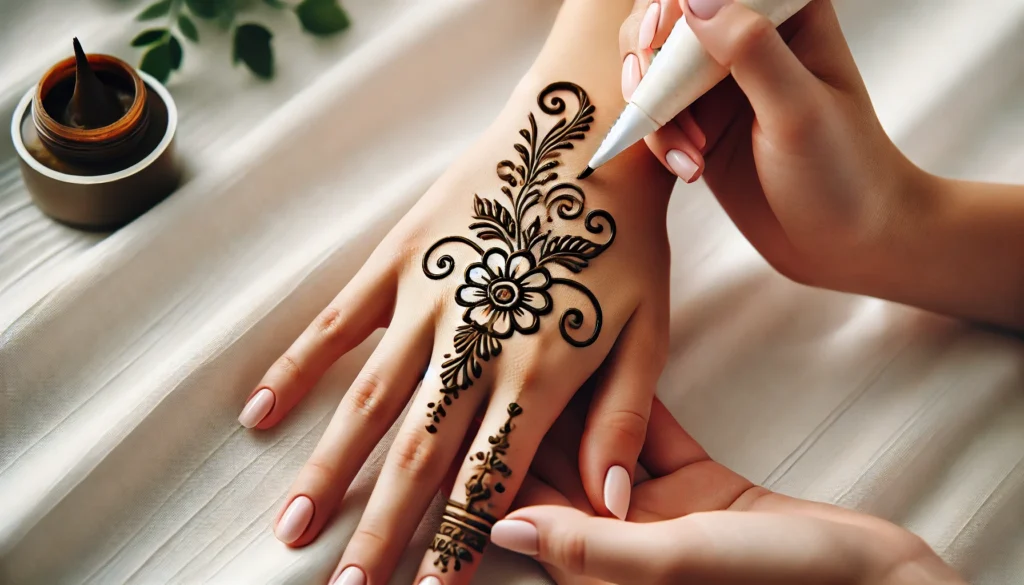
How to make Mehndi: Mehndi also known as henna, is an ancient form of body art that involves applying intricate designs on the skin using a natural paste made from henna leaves. The art form has a rich cultural heritage and is commonly used for special occasions such as weddings, festivals, and celebrations. This guide will walk you through the steps to create beautiful mehndi designs on your own.
1. Mehndi Paste Preparing
Before you start applying mehndi, it is important to prepare the paste properly for the best results. Here’s how you can make the paste:
a. Ingredients Required
- Henna powder (natural and finely sifted)
- Lemon juice
- Essential oil (eucalyptus or lavender)
- Sugar
b. Making the Paste
- Sift the henna powder to remove any lumps.
- Mix the henna powder with a few tablespoons of lemon juice until it forms a thick paste.
- Add a few drops of essential oil and a teaspoon of sugar to the mixture for a smooth consistency.
- Let the paste sit for 6-8 hours or overnight to release the dye.
Once your paste is ready, you can begin creating stunning 13 Back Hand Mehndi Design or any other style you prefer.
2. Essential Tools for Make Mehndi Designs
To achieve intricate designs, having the right tools is essential. Here are some tools you will need:
- Mehndi cone or applicator bottle with a fine tip
- Tissue paper or cloth for wiping mistakes
- Tape or rubber band to secure the cone
You can use a homemade cone made from plastic sheets or purchase a ready-made one. Cones are perfect for creating detailed patterns like Back Full Hand Bridal Mehndi Design.
3. How to Make Mehndi design: Basic Mehndi Patterns for Beginners
If you are new to mehndi art, start with basic patterns to get a feel for the process. Here are some simple designs to try:
a. Dots and Swirls
Begin with dots and small swirls. These are easy to make and can serve as the foundation for more complex patterns.
b. Floral Patterns
Flowers are a popular choice for beginners. You can start with small petals and gradually expand the design. This pattern is ideal for Mehndi design for kids, as it’s simple and cute.
c. Lines and Borders
Use lines to create borders for your design. You can also add small dots along the lines for extra detail.
4. Step-by-Step Guide to Making a Simple Mehndi Design
Here’s a step-by-step process to create a basic mehndi design:
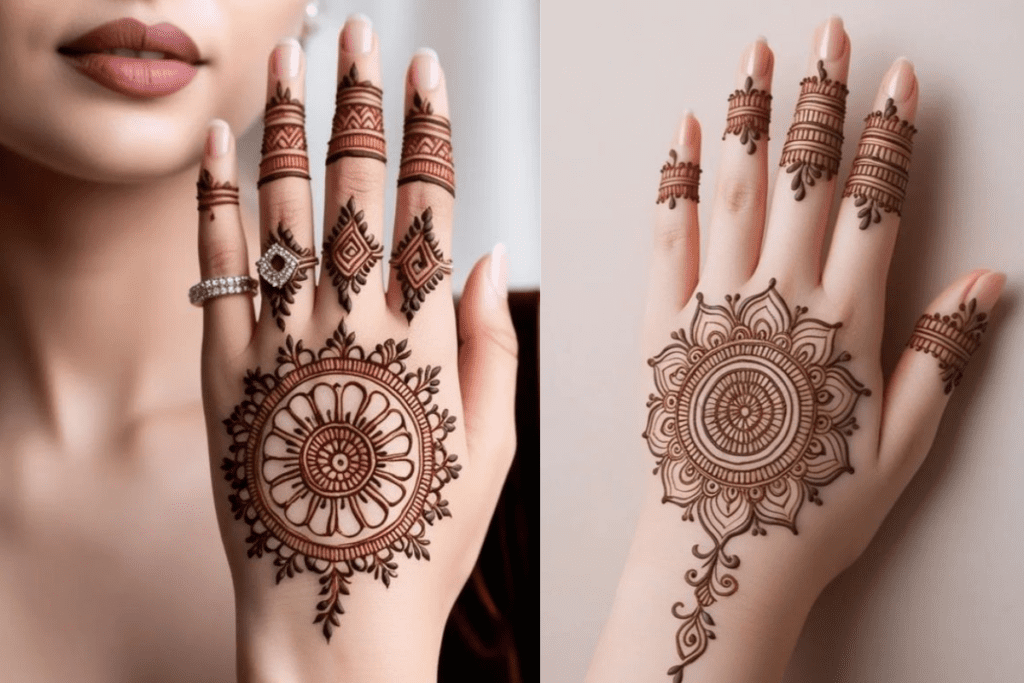
a. Step 1: Start with the Back of the Hand
For beginners, the back of the hand is the best place to start. Choose a simple pattern, like an Easy Back Hand Mehndi Design, which can be expanded later.
b. Step 2: Create a Central Design Element
Begin with a central design element, such as a flower or mandala, and then build around it. Use small lines and swirls to fill the gaps.
c. Step 3: Add Borders and Details
As you progress, add borders around the main design and fill in any empty spaces with dots, lines, or small flowers. You can follow the pattern of a Stylish Back Hand Mehndi Design for inspiration.
d. Step 4: Let It Dry
Once the design is complete, let it dry for at least 2-3 hours. For a darker color, leave it on overnight and avoid washing your hands immediately.
5. Tips for Enhancing the Mehndi Color
To ensure a darker and longer-lasting stain, follow these tips:
a. Apply Lemon-Sugar Solution
After the mehndi has dried slightly, apply a mixture of lemon juice and sugar to it using a cotton ball. This helps the design stay moist, allowing the color to deepen.
b. Heat Exposure
Expose your hands to mild heat or steam. You can do this by placing your hands near a warm source or using steam from boiling water.
c. Avoid Water
Keep your hands away from water for at least 12 hours after the mehndi has dried to let the color develop fully.
Using these techniques can give you results similar to a Simple Mehndi Design for Back Hands or more elaborate patterns.
6. Creating Different Types of Mehndi Designs
Various styles can be applied based on cultural and aesthetic preferences:
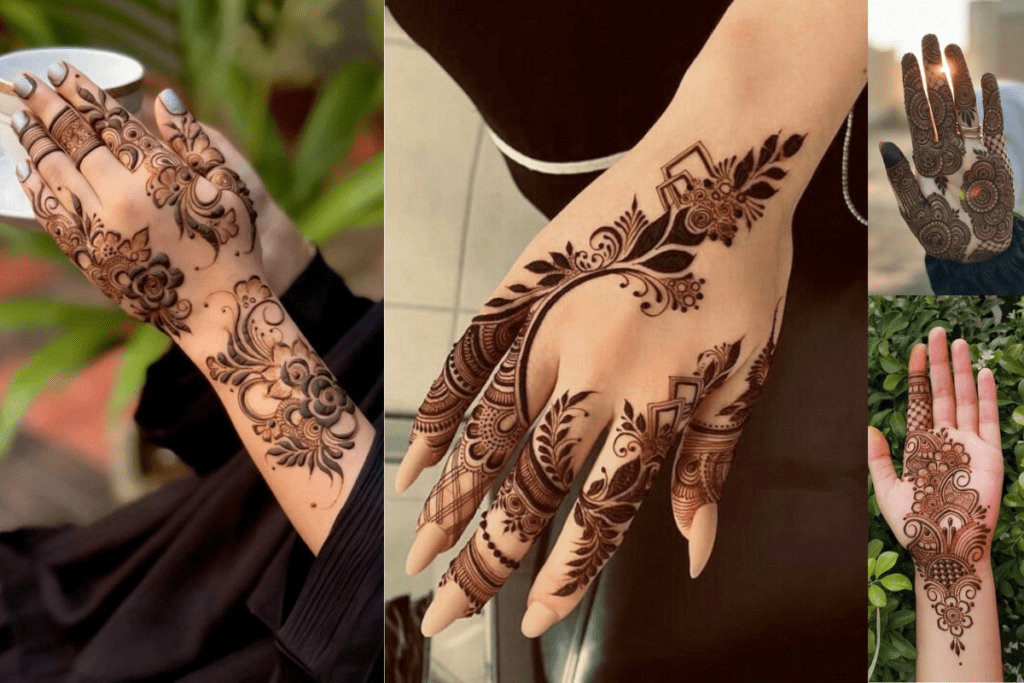
a. Arabic Mehndi
Arabic designs feature bold, flowing patterns that are less dense compared to traditional Indian designs. They often include flowers, leaves, and paisleys.
b. Bridal Mehndi
Bridal designs are intricate and cover most of the hand and arms. They may include personal elements like the bride and groom’s initials.
c. Kids’ Mehndi
For children, choose Mehndi design for kids that are simple and playful. Smaller, less detailed designs work best.
7. Common Mistakes to Avoid
To ensure your mehndi design turns out perfect, avoid these common mistakes:
a. Over-Thickening the Lines
Thicker lines can make the design look less delicate. Stick to thin, intricate lines for more elegance.
b. Not Letting the Paste Set Properly
If the paste is not given enough time to set, the color may not develop fully. Always allow adequate drying time.
c. Using Water Immediately After Application
Washing your hands too soon can lighten the color, making the design less vibrant.
8. Advanced Mehndi Techniques
Once you’re comfortable with basic designs, try more advanced techniques such as shading or layering. These can add depth to the design and make it more visually appealing.
Advanced techniques are especially useful for creating detailed styles like Back Side Mehndi Design.
Conclusion
Creating mehndi designs is an art that can be learned and perfected with practice. From basic patterns to intricate styles, the key is to start simple and gradually move on to more complex designs. Whether you’re working on a Back Hand Mehndi Design simple or a Back Full Hand Bridal Mehndi Design, following these steps will help you achieve beautiful results.